How to Add a Marquee in Elementor Without Plugins (Custom CSS Guide)
-
 Sonu Modi
- |
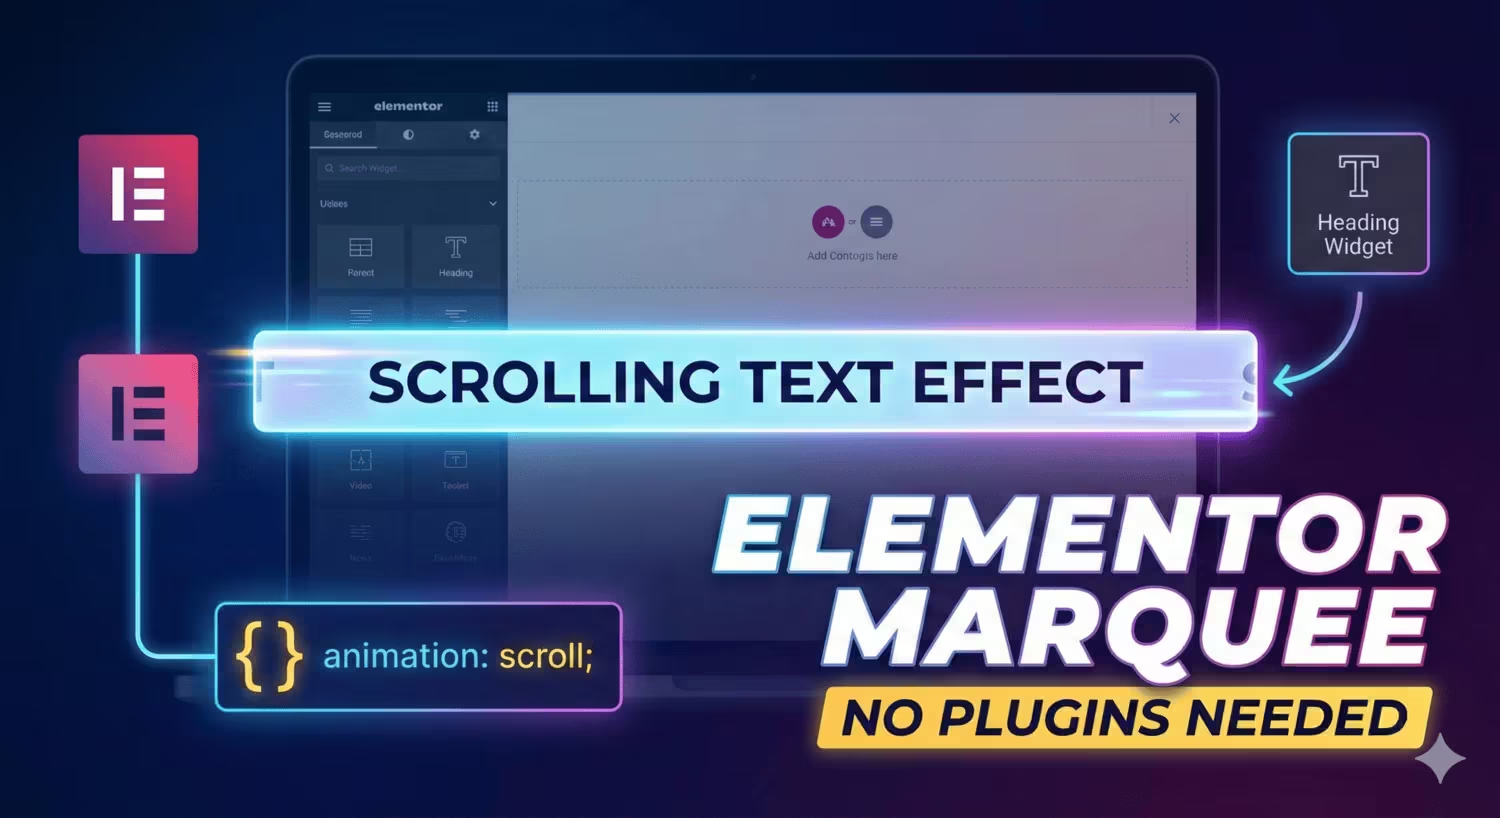
Table of Contents
Everyone loves a scrolling text effect (marquee) for announcements, news tickers, or catchy headlines. However, relying on the outdated HTML <marquee> tag is bad practice for modern web standards, and installing a heavy add-on plugin just for one animation can slow down your site.
The good news? You do not need either.
You can create a smooth, fully responsive marquee using the standard Elementor Heading Widget and a few lines of CSS. This method keeps your site lightweight, SEO-friendly, and fully editable within the Elementor interface.
In this guide, we will show you two ways to do it: the Classic Scroll and the Seamless Infinite Loop.
Why You Should Avoid Marquee Plugins
Before we get to the code, it is important to understand why this method is superior to using a plugin.
-
- Zero Bloat: Plugins add extra JavaScript and CSS files that increase your page load time. This method adds less than 1kb of code.
-
- Better SEO: Because we use a standard Heading tag (H1-H6, p, or div), search engines can easily read and index the text.
-
- Easy Editing: You do not have to mess with HTML code blocks. You can edit the text directly in the Elementor Heading widget just like any other title.
Method 1: The Classic Scroll (Quick Setup)
Method 1: The Classic Scroll Example
This method moves the text from the far right of the screen to the far left. It is perfect for distinct announcements.
Step 1: Add the Heading Widget
-
- Open your Elementor editor.
- Drag and drop a Heading Widget into your section.
- Type your text (e.g., “Breaking News: Summer Sale starts today!”).
- Style the typography (font, size, color) using the Style tab.
Step 2: Open Custom CSS
-
- With the Heading Widget selected, go to the Advanced tab.
- Scroll down to the Custom CSS section.
Note: Custom CSS is an Elementor Pro feature. If you use the free version, assign a CSS Class to the widget and paste the code into your theme’s customizer.
Step 3: Paste the CSS Code
Copy the code below and paste it into the editor:
CSS
selector {
    white-space: nowrap;
    overflow: hidden;
}

selector .elementor-heading-title {
    animation: scroll 15s linear infinite;
}

@keyframes scroll {
    0% {
        transform: translateX(100%);
    }
    100% {
        transform: translateX(-100%);
    }
}
How to Customize It
-
- Adjust Speed: Change
15sto20sfor a slower scroll or10sfor a faster one.
- Adjust Speed: Change
-
- Reverse Direction: Swap the
100%and-100%values in the@keyframessection to make it scroll right.
- Reverse Direction: Swap the
Method 2: The Seamless Loop (Advanced)
The classic method leaves a blank gap on the screen while the animation resets. If you want a continuous ribbon of text with no breaks, use this “Seamless” method.
Step 1: Duplicate Your Content
To make the loop invisible to the eye, you must manually duplicate the text inside the Heading Widget content area.
-
- Original Text: “Free Shipping on All Orders”
-
- Change to: “Free Shipping on All Orders | Free Shipping on All Orders | Free Shipping on All Orders”
Tip: Repeat the text enough times so that it is wider than the user’s screen.
Step 2: Apply the Seamless CSS
Replace the previous CSS with this snippet. We use a translation of -50% here to create the optical illusion of an infinite loop.
CSS
selector {
    white-space: nowrap;
    overflow: hidden;
    display: block;
}

selector .elementor-heading-title {
    /* Ensures the element calculates width correctly */
    display: inline-block;
    animation: scroll-seamless 12s linear infinite;
}

@keyframes scroll-seamless {
    0% {
        transform: translate3d(0, 0, 0);
    }
    100% {
        /* Moves exactly half the width of the duplicated text */
        transform: translate3d(-50%, 0, 0);
    }
}
Bonus: Pause on Hover
If your scrolling text contains links or important information, users might want to stop the text to read it. You can add this simple interaction feature.
Add this snippet directly below your existing CSS:
CSS
selector:hover .elementor-heading-title {
    animation-play-state: paused;
}
Now, when a user moves their mouse over the text, the marquee will freeze until they move the mouse away.
Conclusion
Creating an Elementor marquee does not require complex coding or external plugins. By utilizing the Heading widget and a few lines of CSS, you keep your website fast, clean, and professional.
Try this on your next project and enjoy the lightweight animation!


